
Resources
Setup OpenAI Key
👋 In this guide, we will learn how to setup PDF Squid to use your OpenAI key.
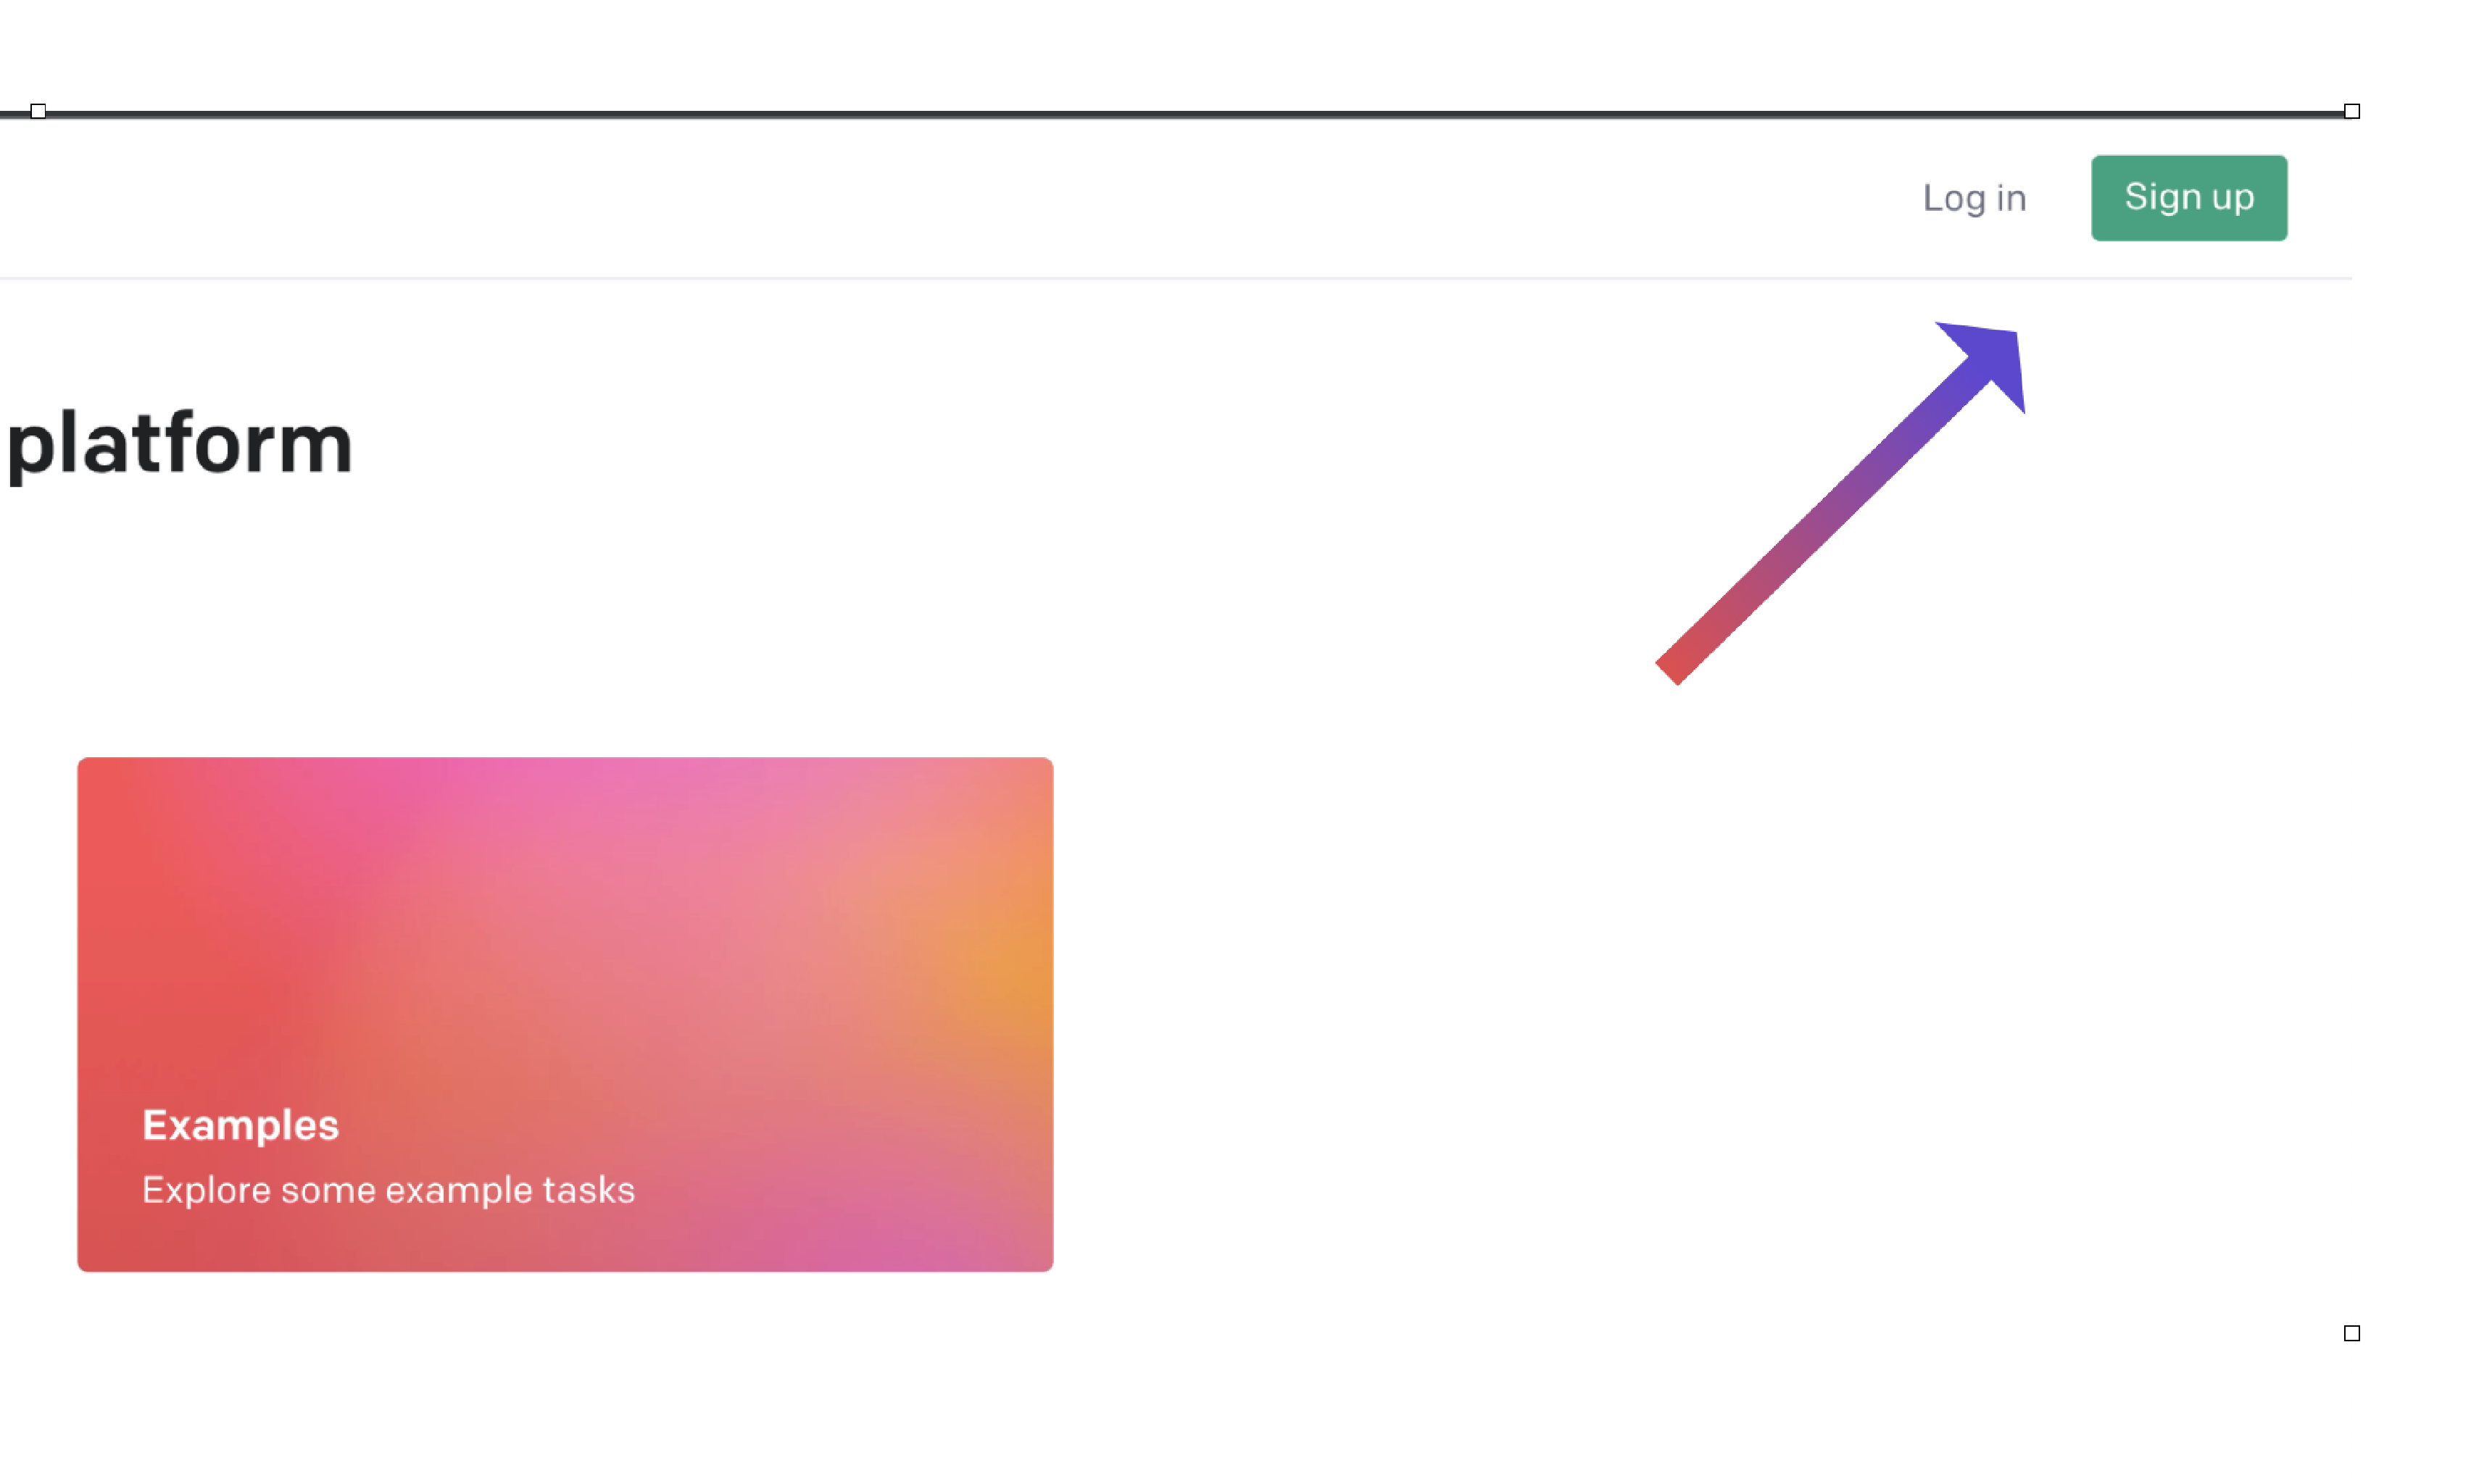
Visit platform.openai.com
Go to platform.openai.com and create an account or login with your existing account as shown in Fig 1.
Setup billing in OpenAI 💸
Go to the Billing Section of your OpenAI account and click on “Start Billing plan”.
Once you do that, you will be asked to enter your credit card details and add credit to your account.
PDF Squid is very optimized, and you will be able to work on a lot of documents with just $10.00.
Remember to top up your account once you run out of credit.
Create an API Key
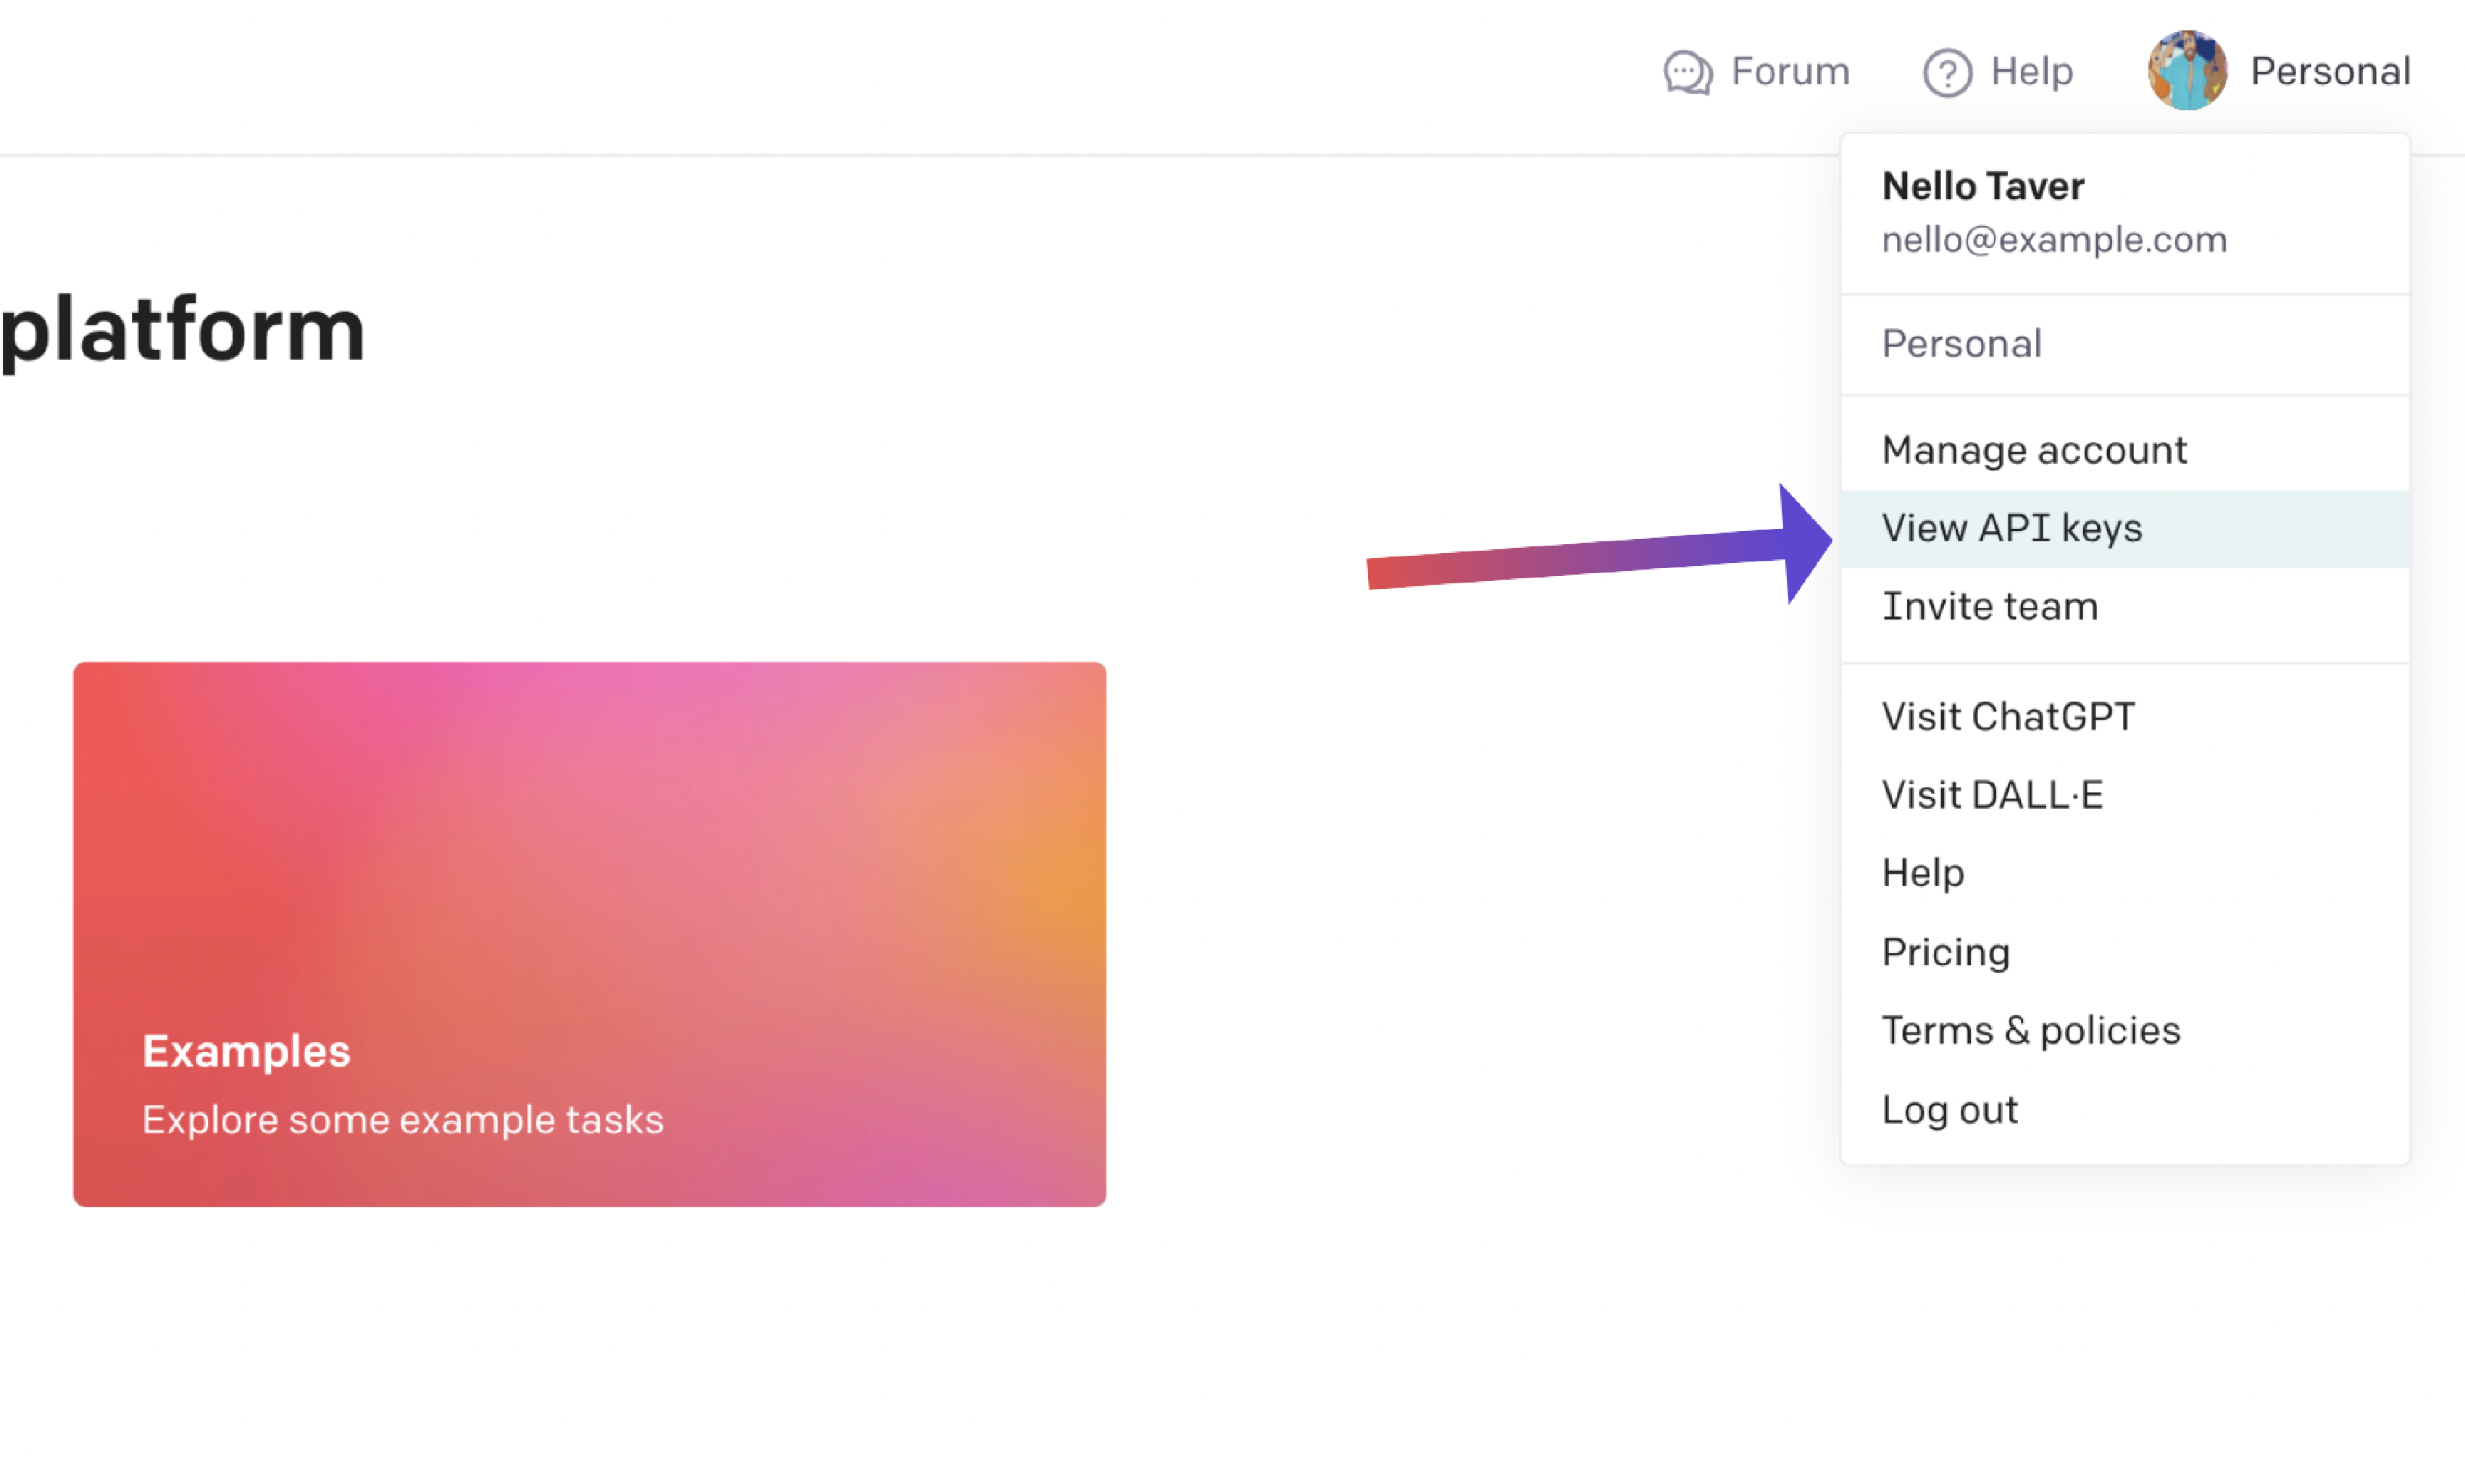
Once you are logged in, click on the “API Keys” tab and then click on “New API Key” as shown in Fig 2.
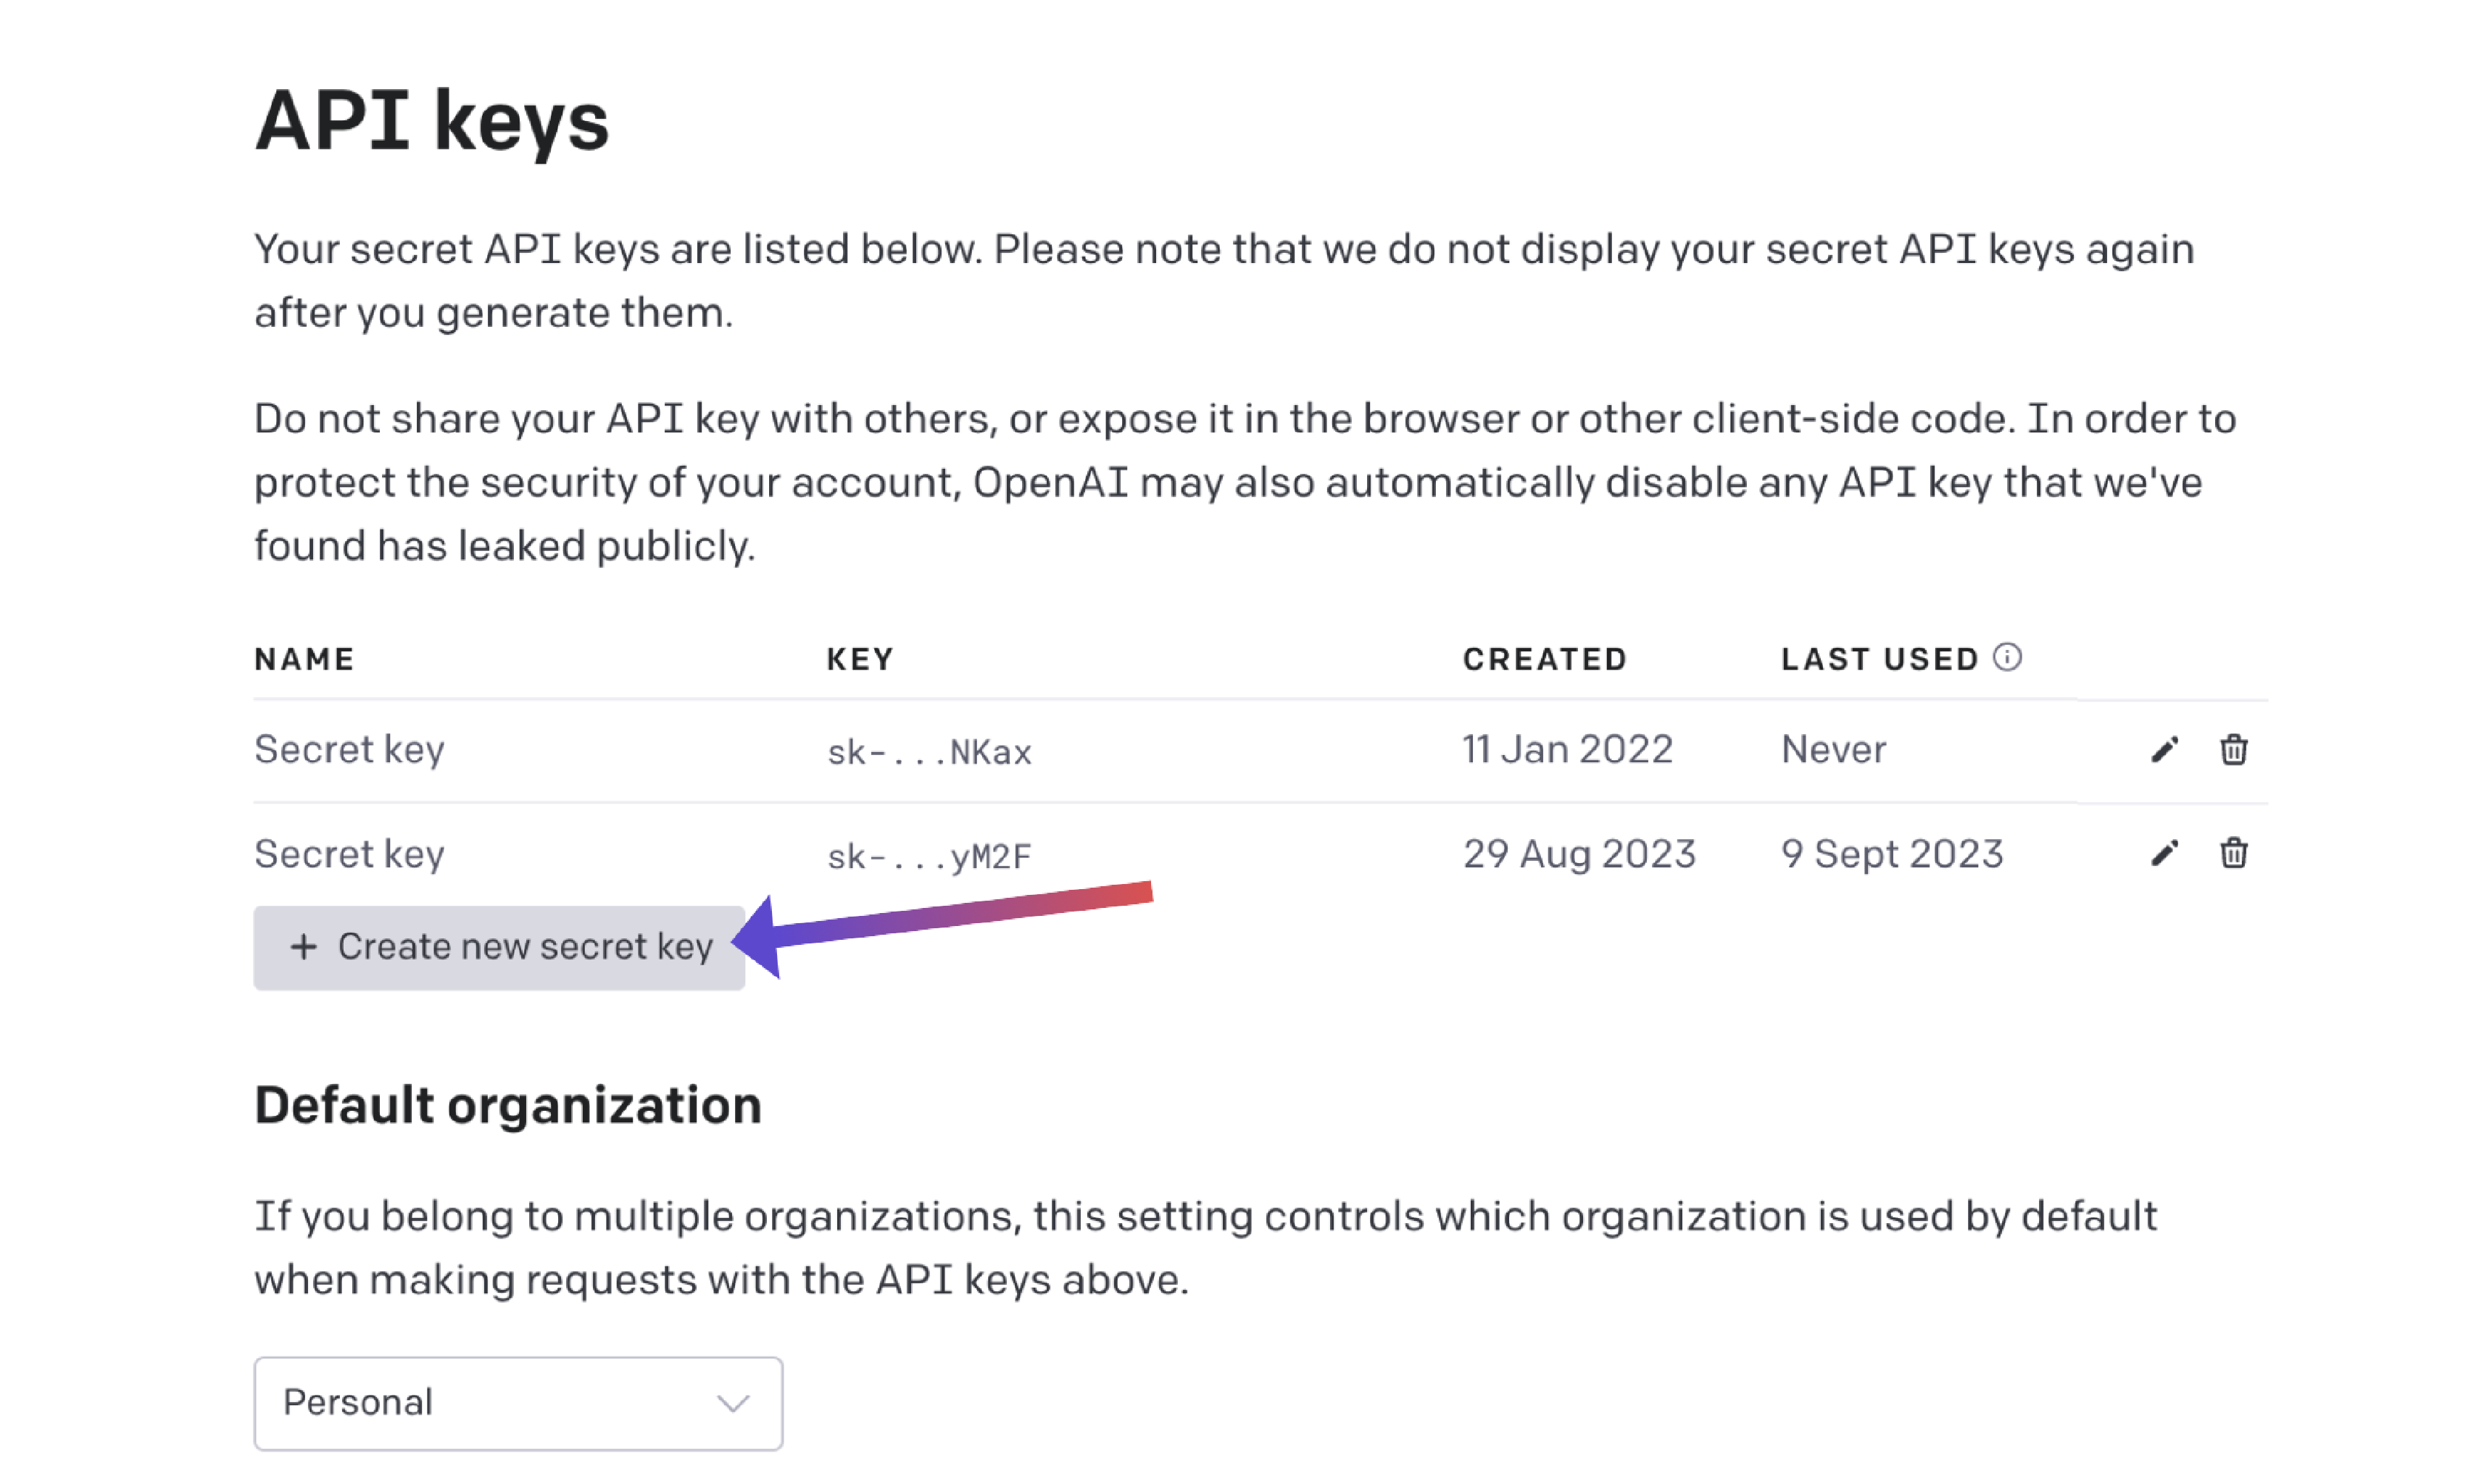
Then, click on “Create new secret key” as shown in Fig 3.
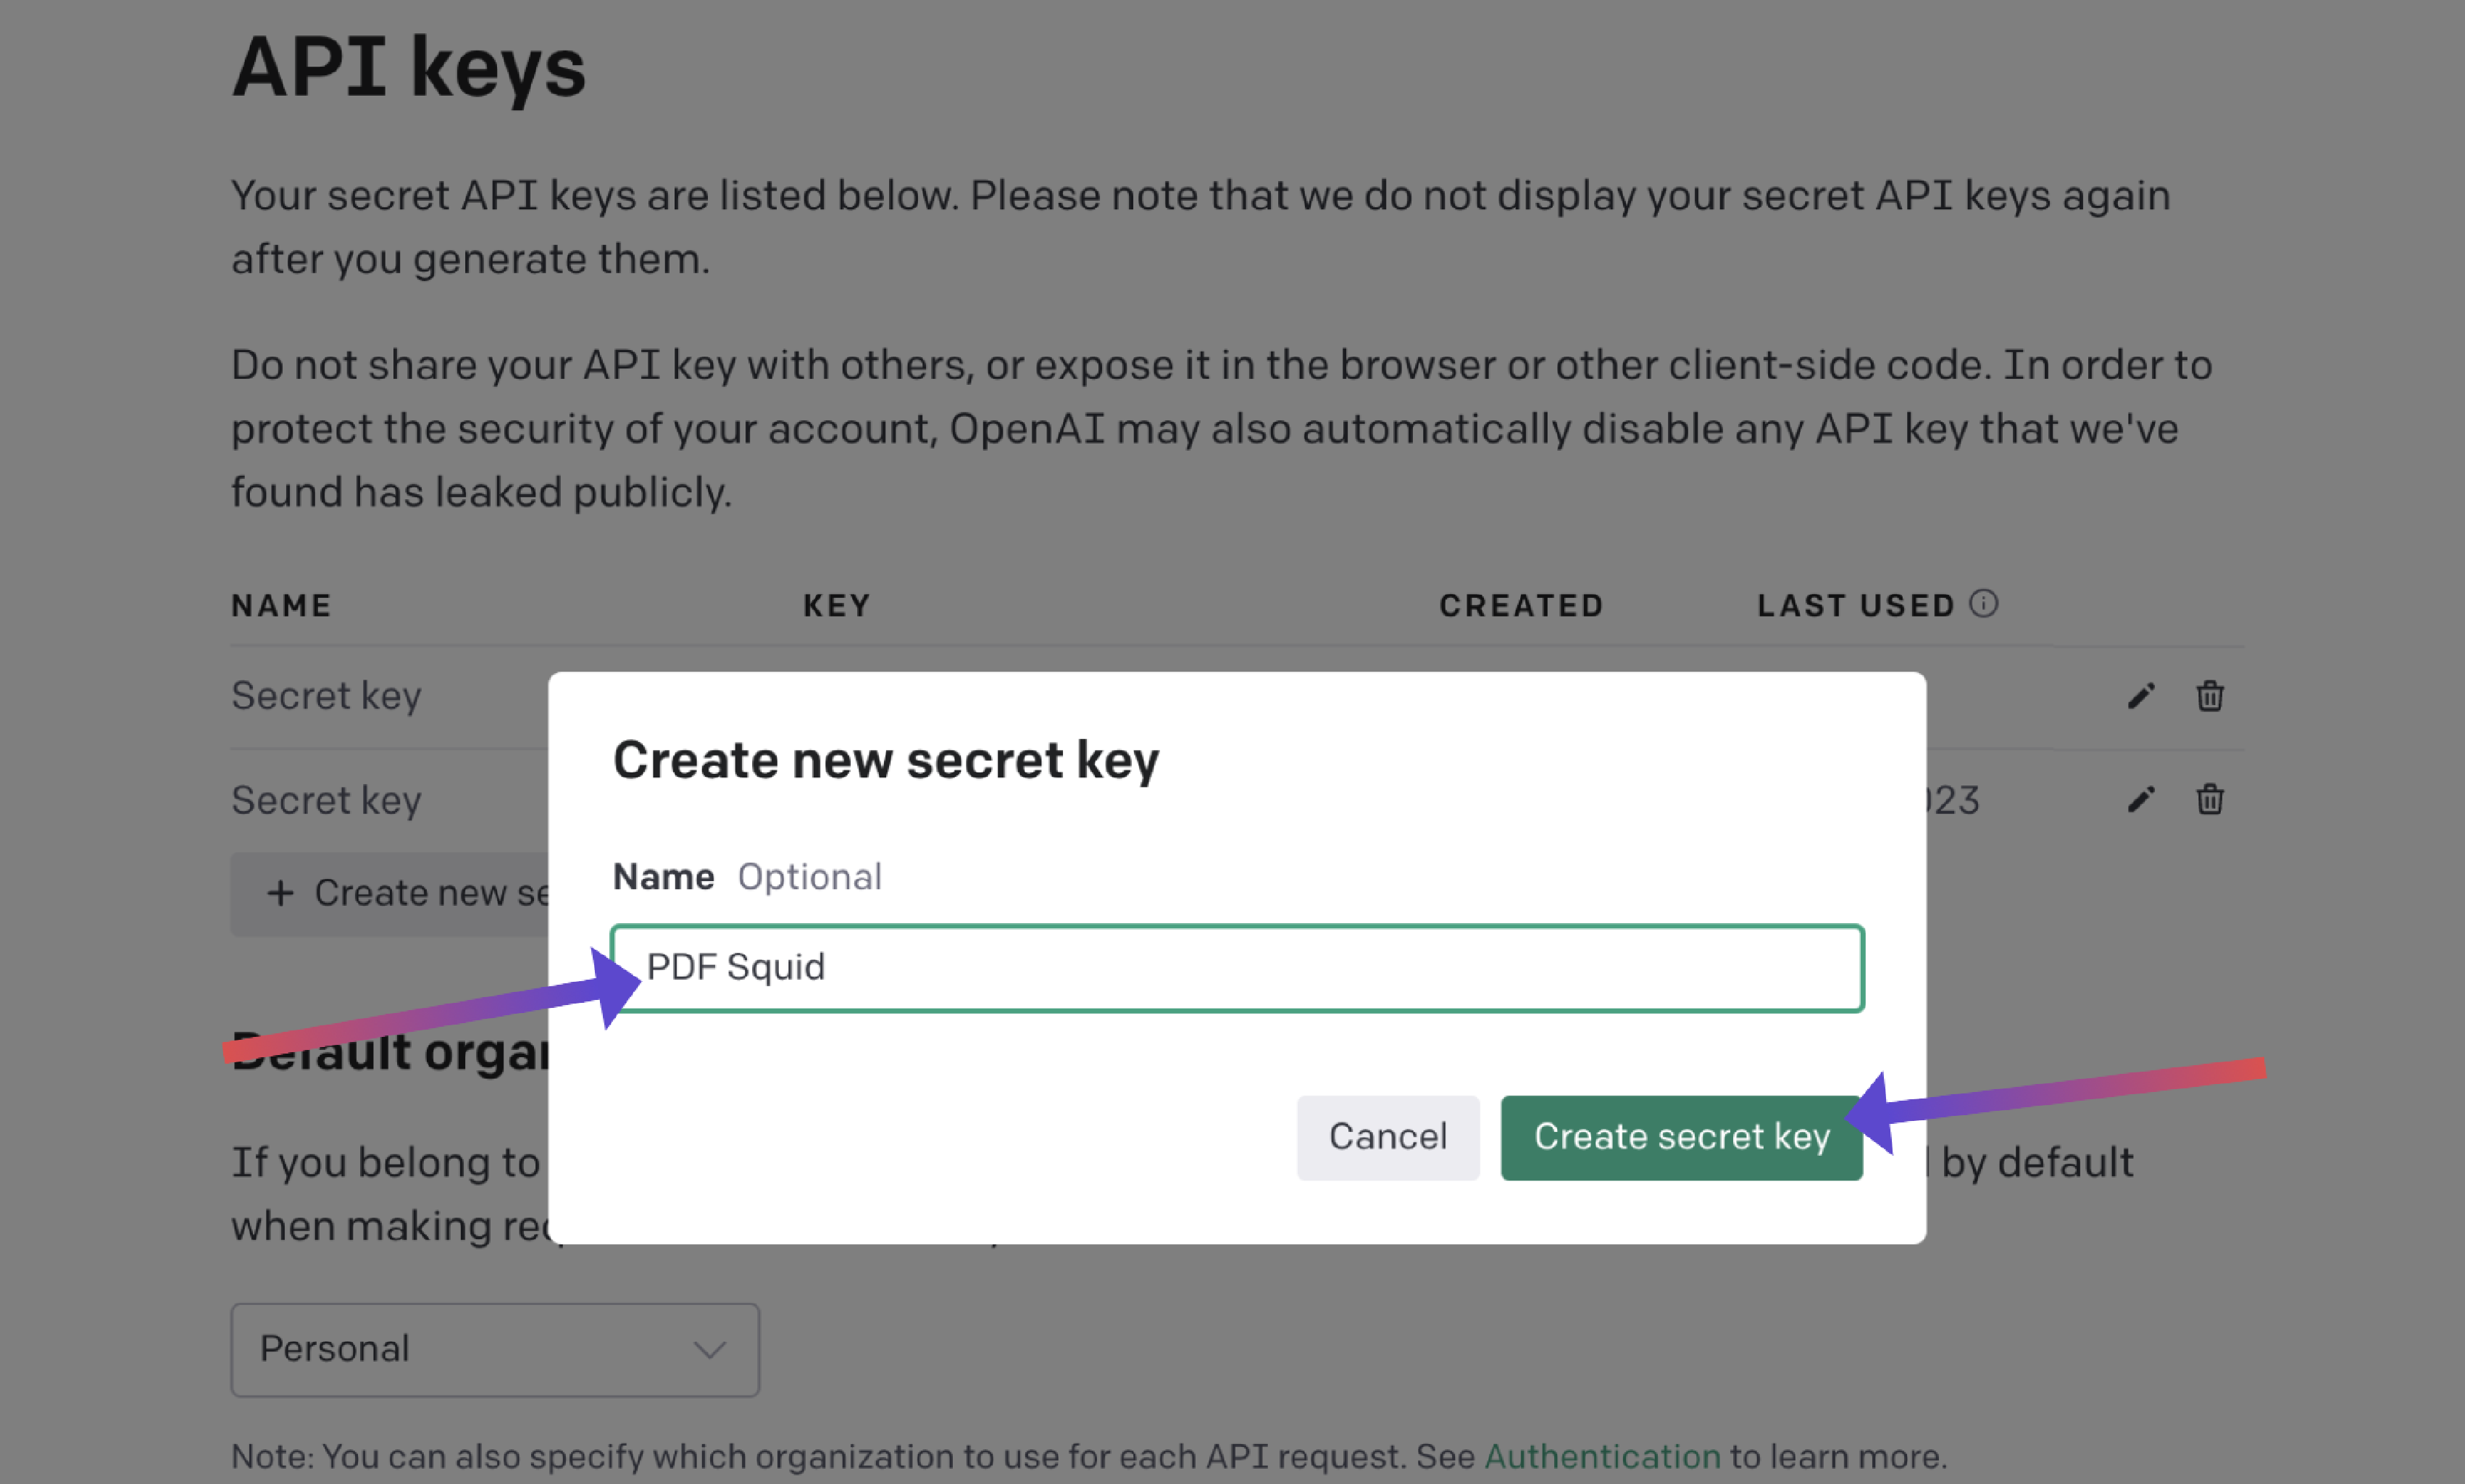
Now give a name to your API key and click on “Create secret key” as shown in Fig 4.
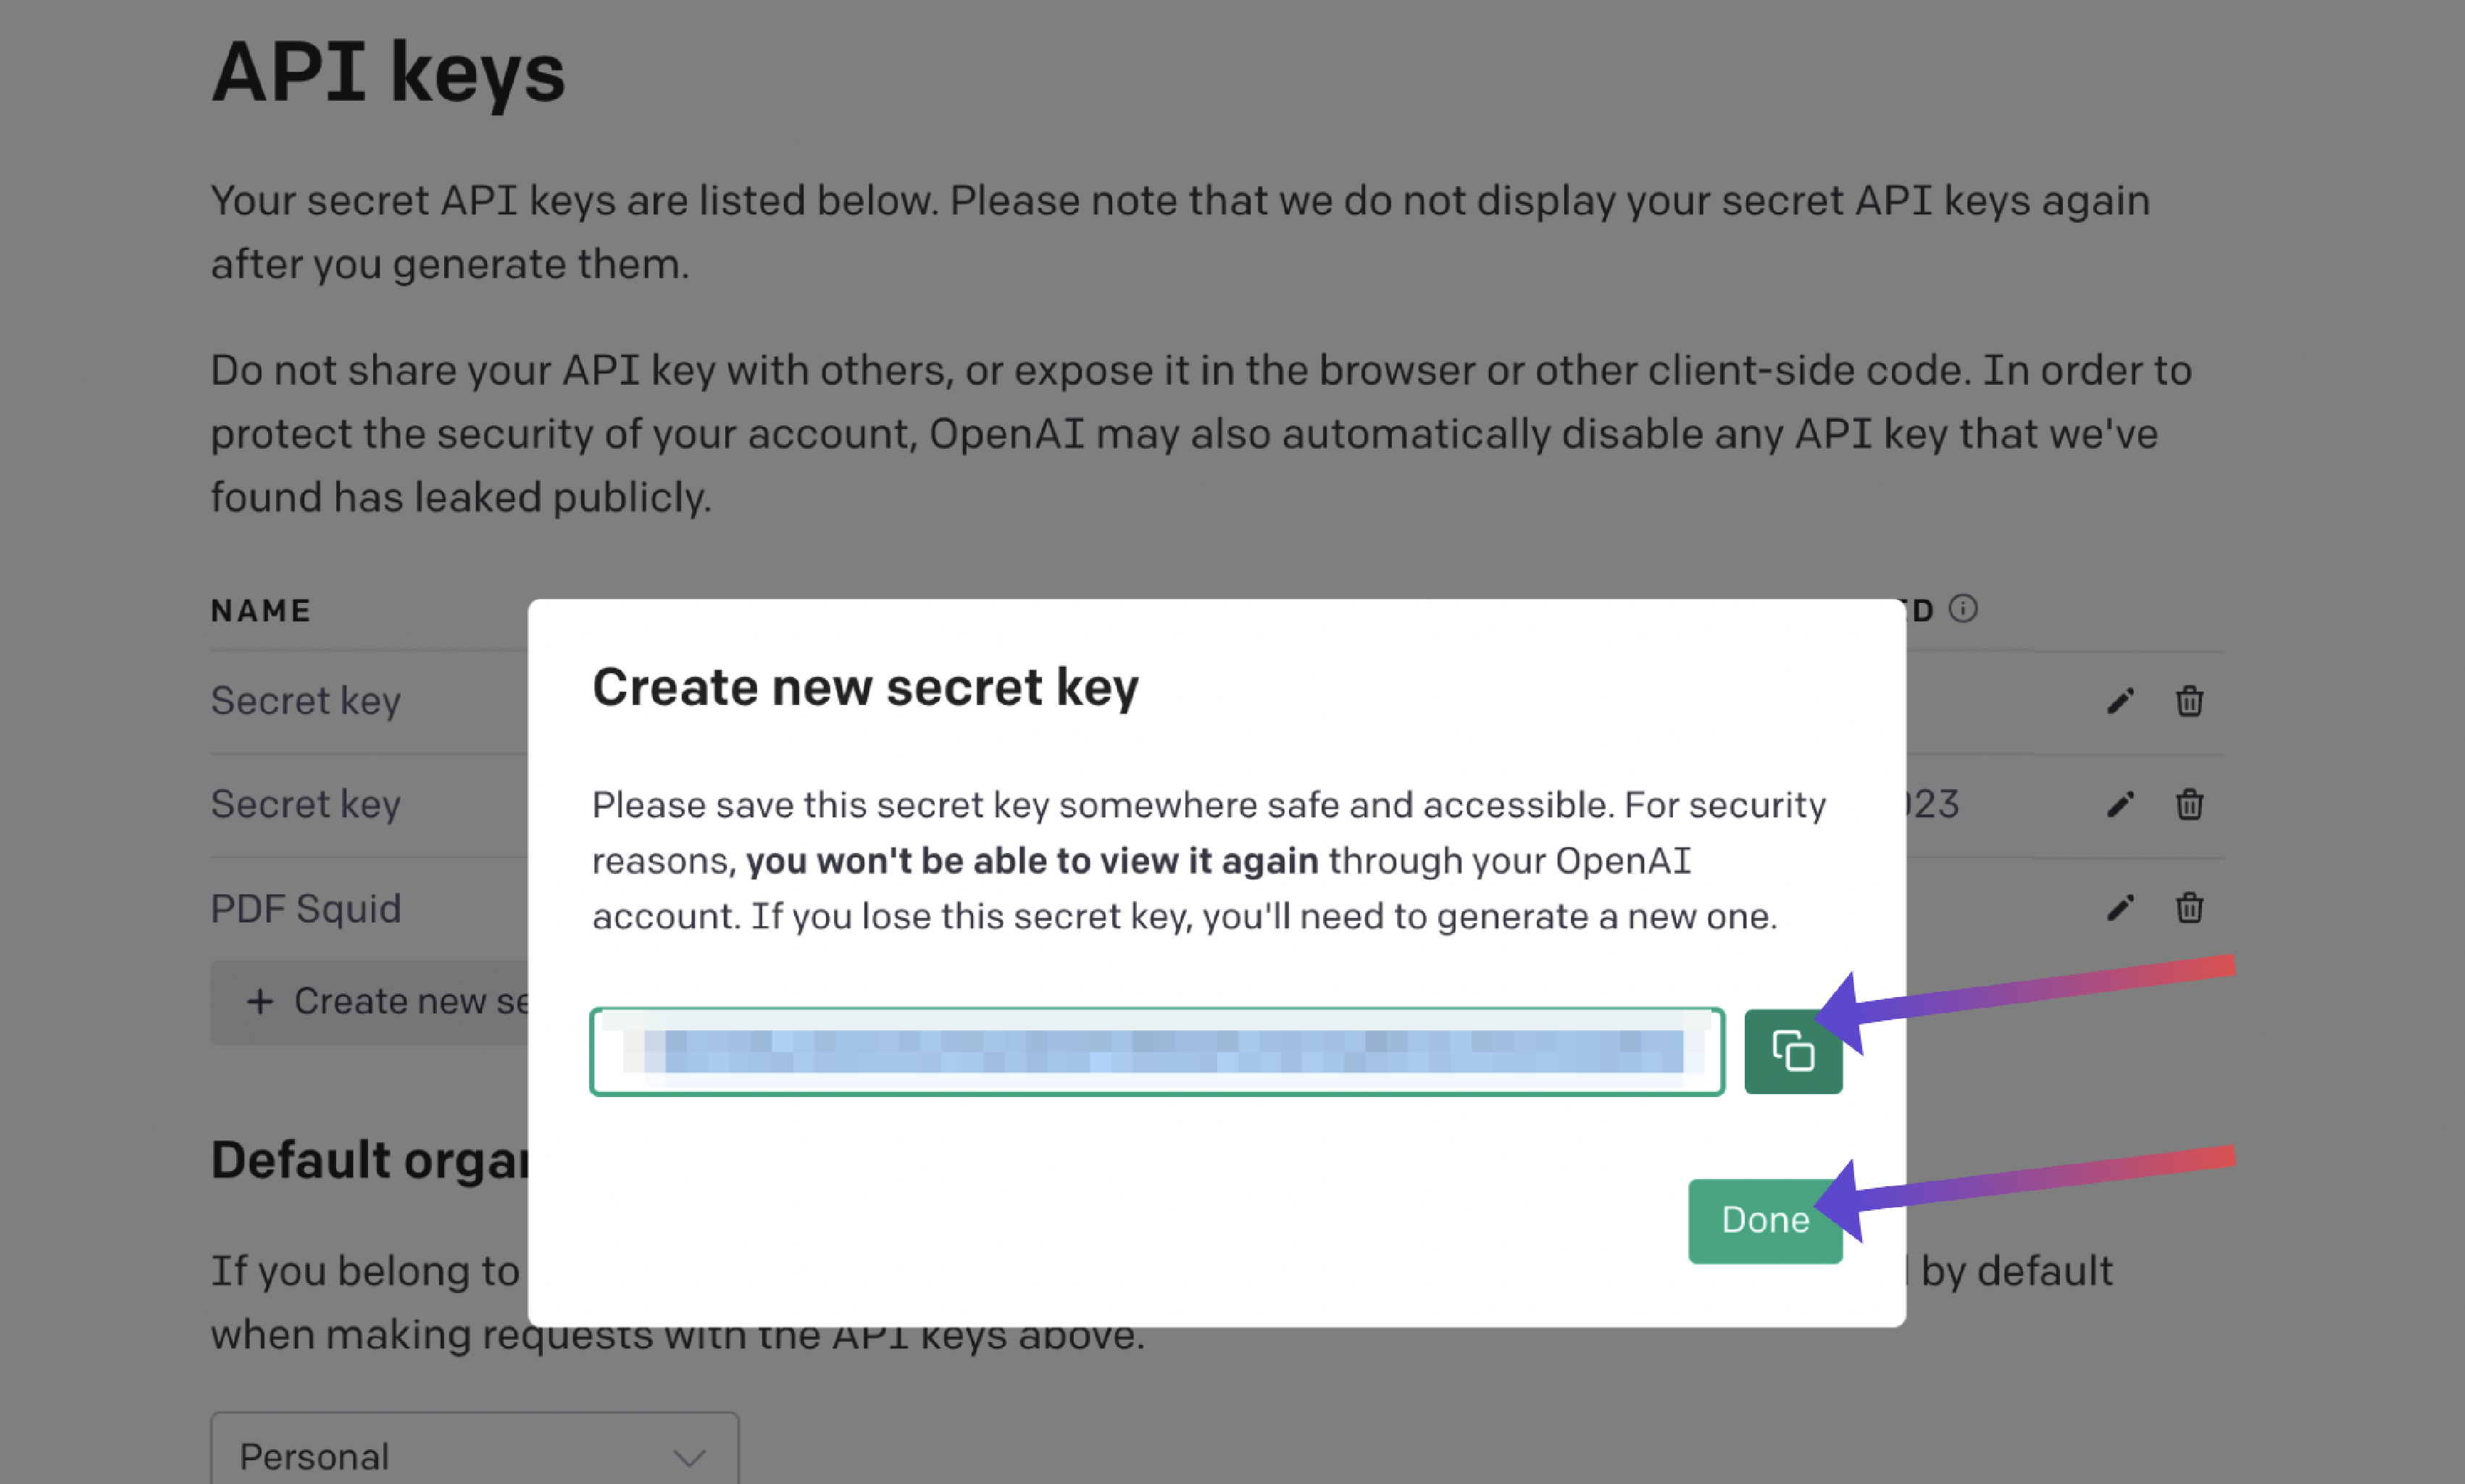
Copy your API Key
Now copy your API key as shown in Fig 5.
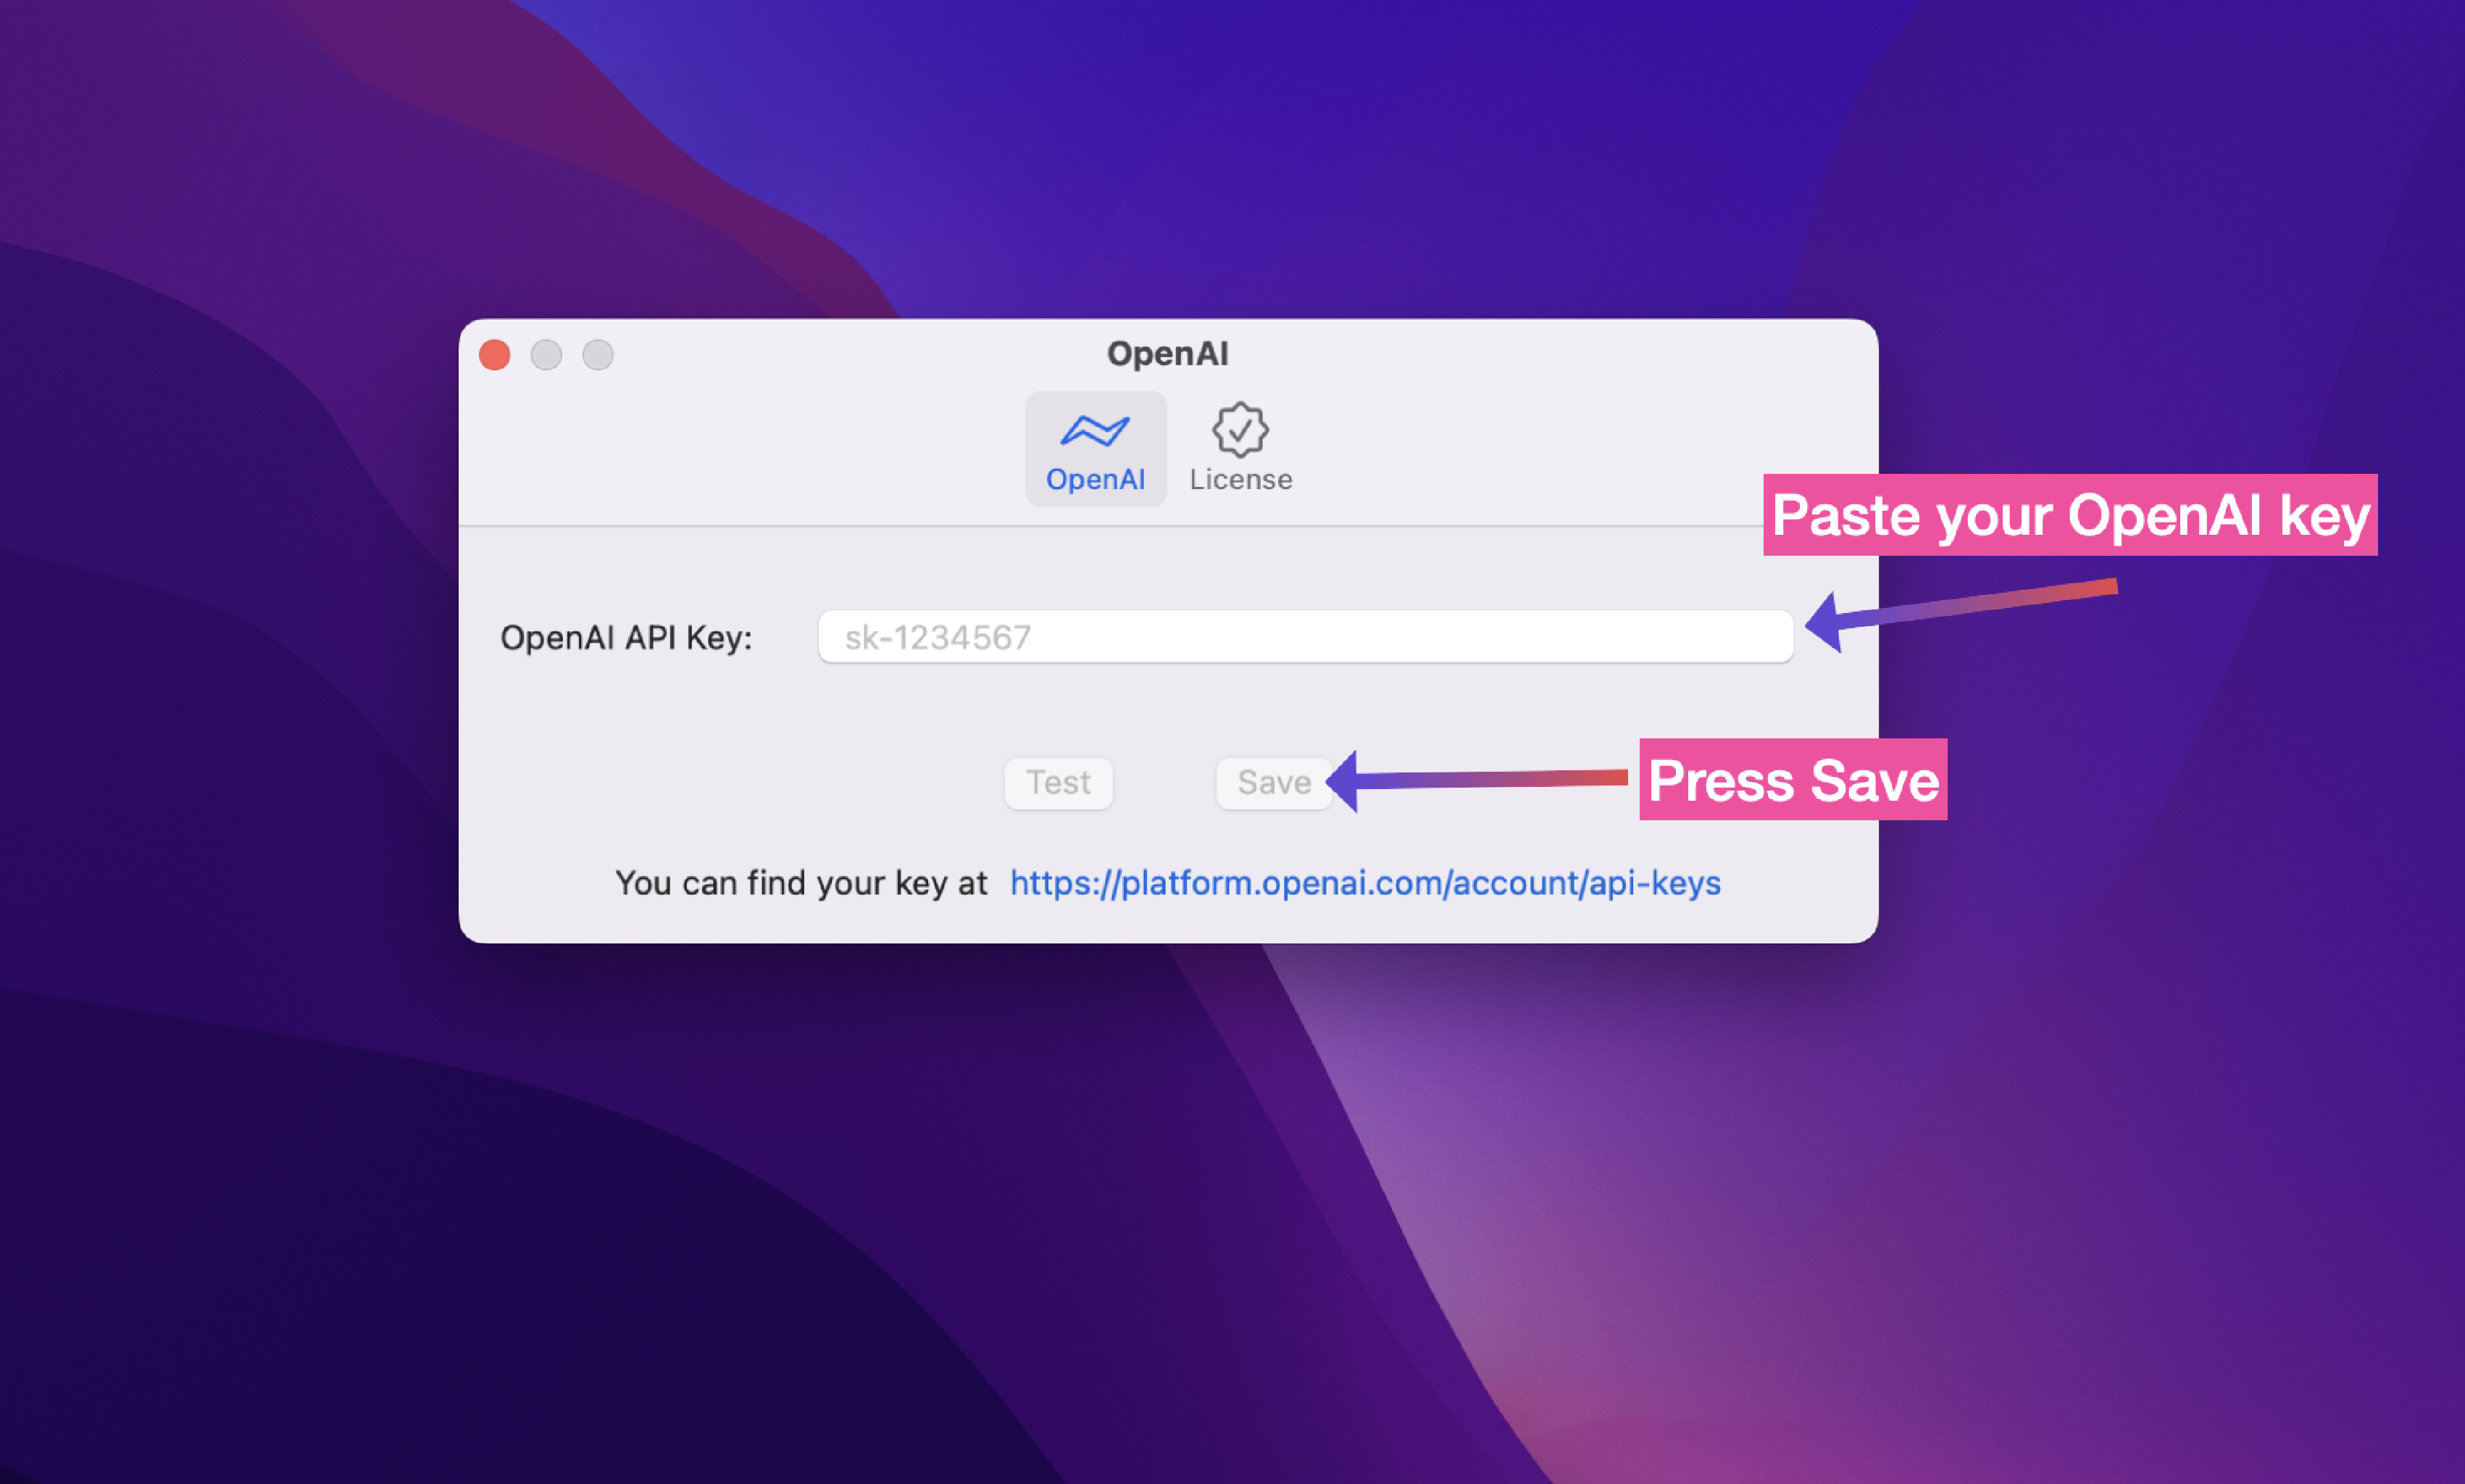
Paste your API Key in PDF Squid’s settings
Open PDF Squid and open the settings page by pressing Command (or Cmd) ⌘ + , (comma) on your keyboard.
Then, paste your API key in the “OpenAI Key” field as shown in Fig 6.
You can now test or save your API key by clicking on the “Test” or “Save” button respectively.
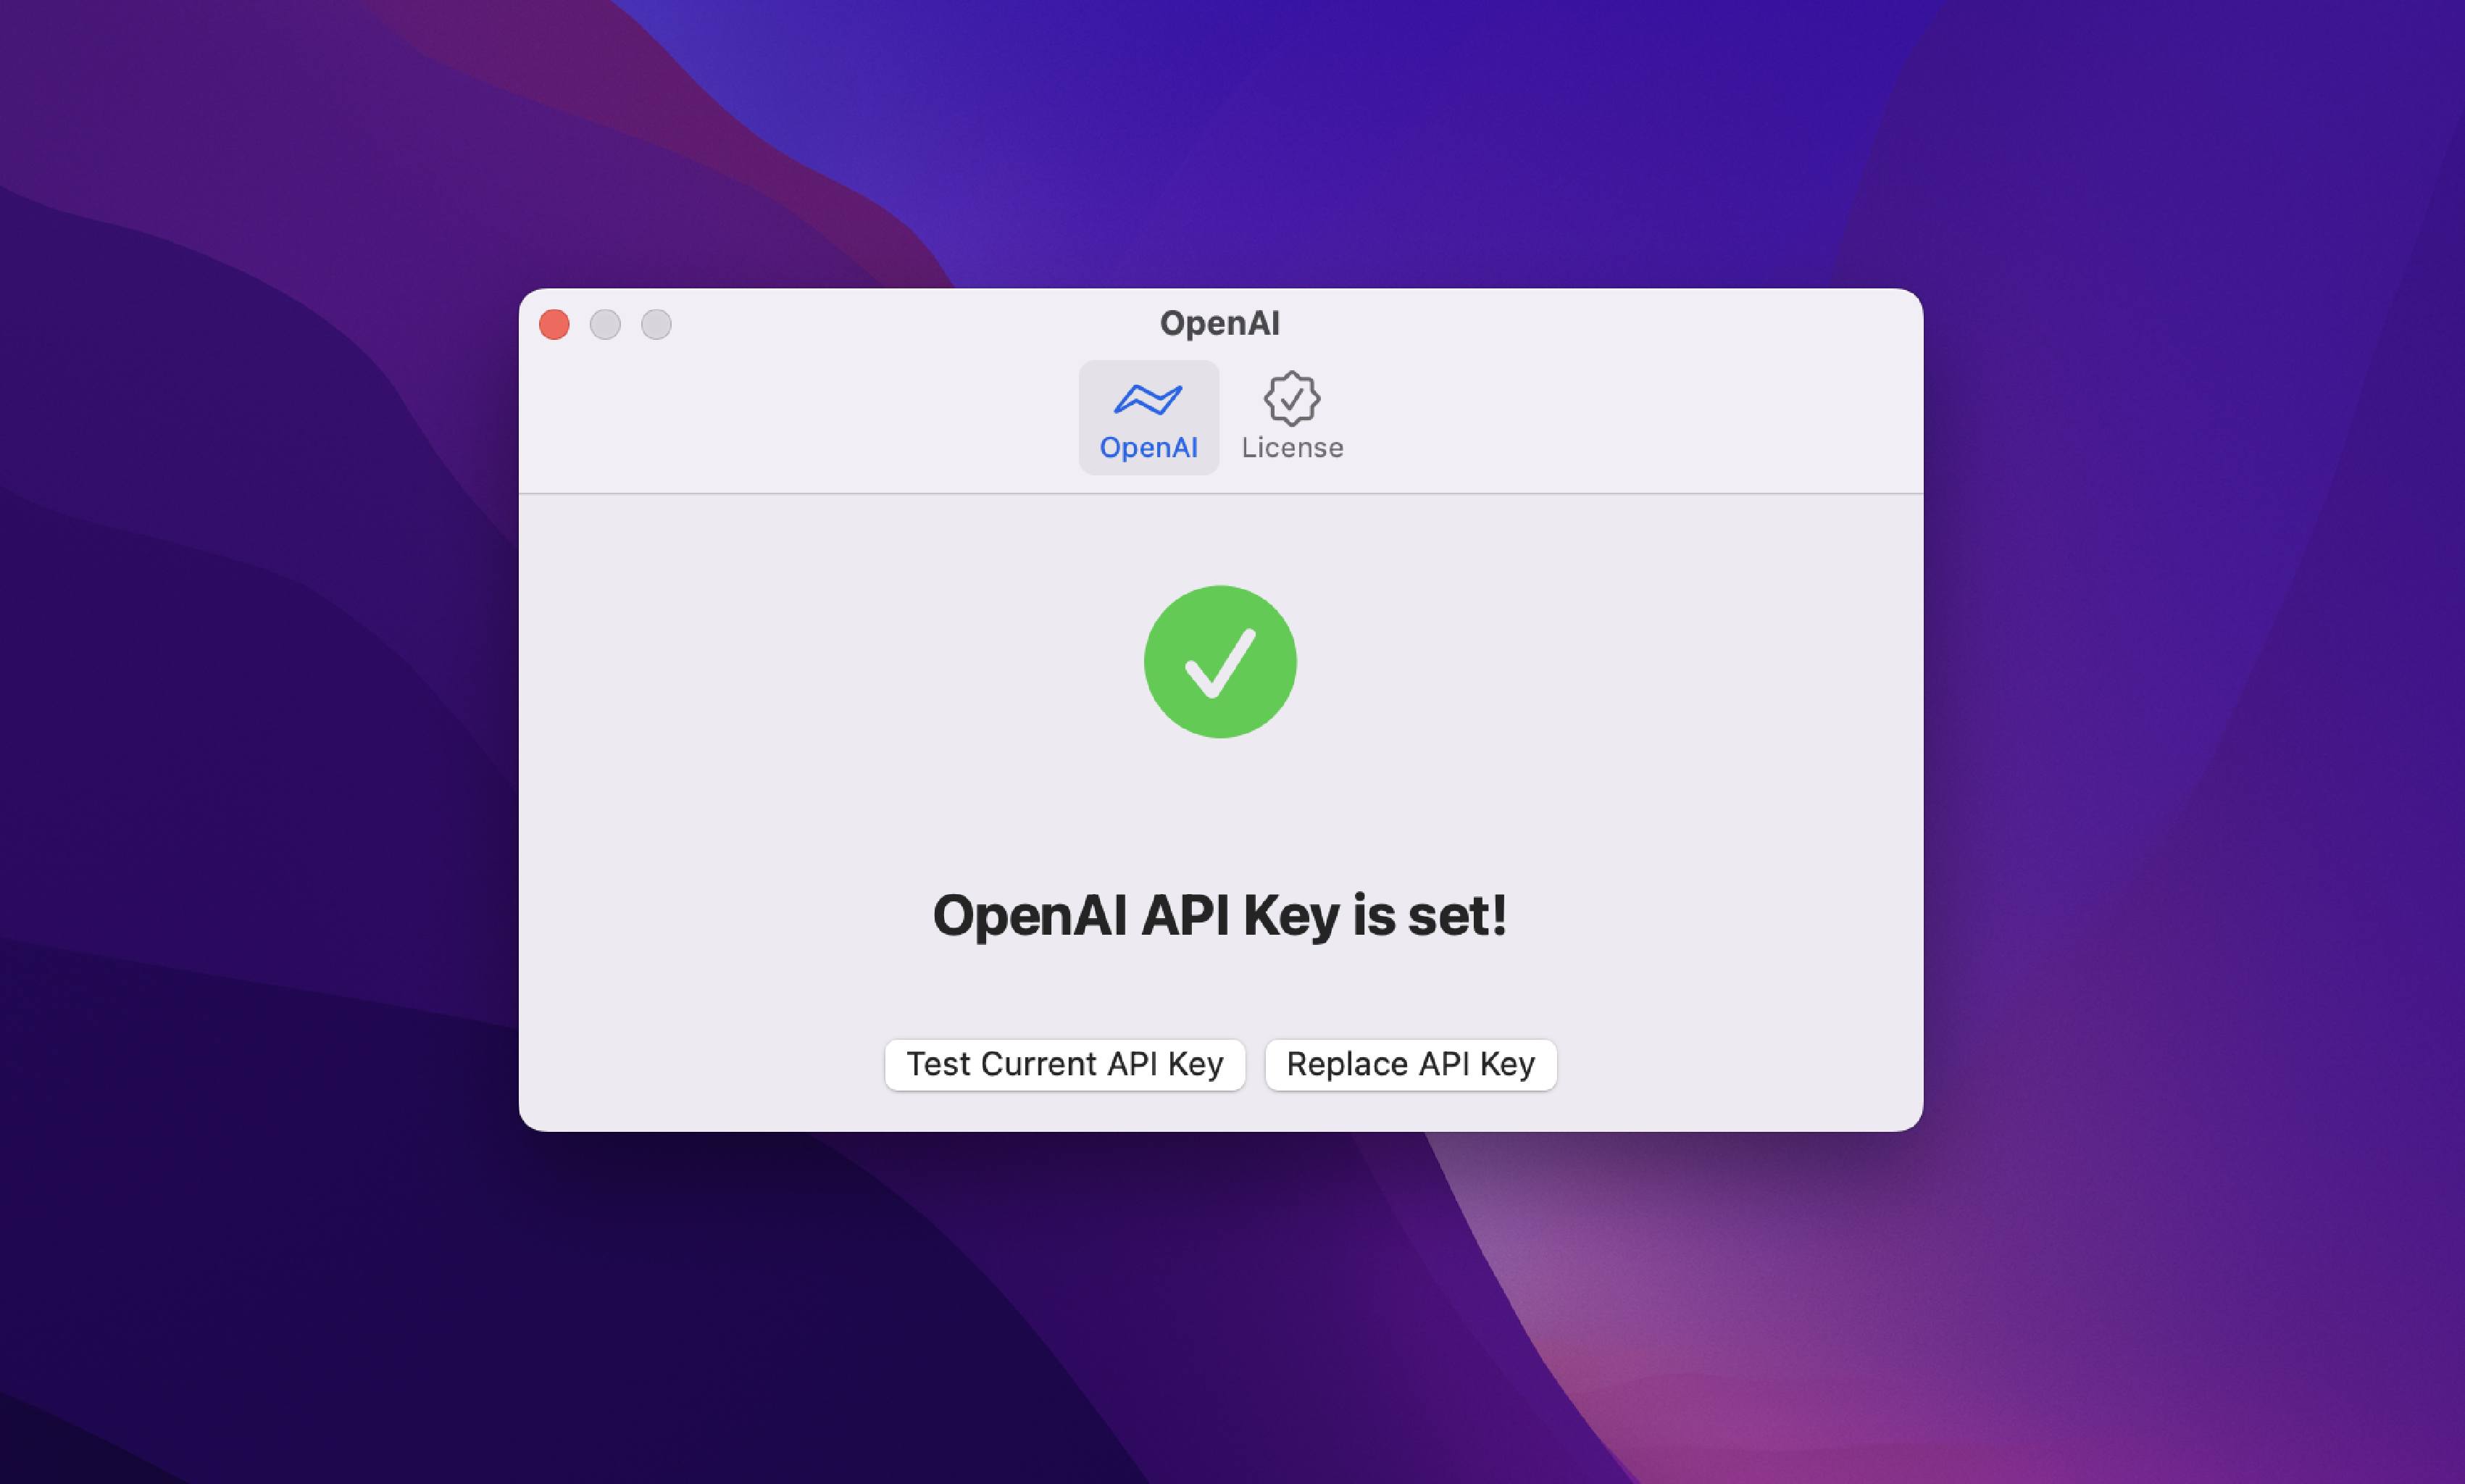
You are all set!
You can now use PDF Squid to generate text using your OpenAI API key.
Bye and thanks again for using PDF Squid! 🦑